This blog is a record of how I built my 1937 Plymouth two door sedan into a prize winning restomod. Restomod (restoration + modern technology) uses the advancements in automotive technology to enhance the performance, comfort and safety of a classic car. Follow along as I post photos and information over the next several weeks about how I modified and fabricated various components to bring this awesome project together. I will also share several upgrades I performed after the car was completed.
Tuesday, October 28, 2014
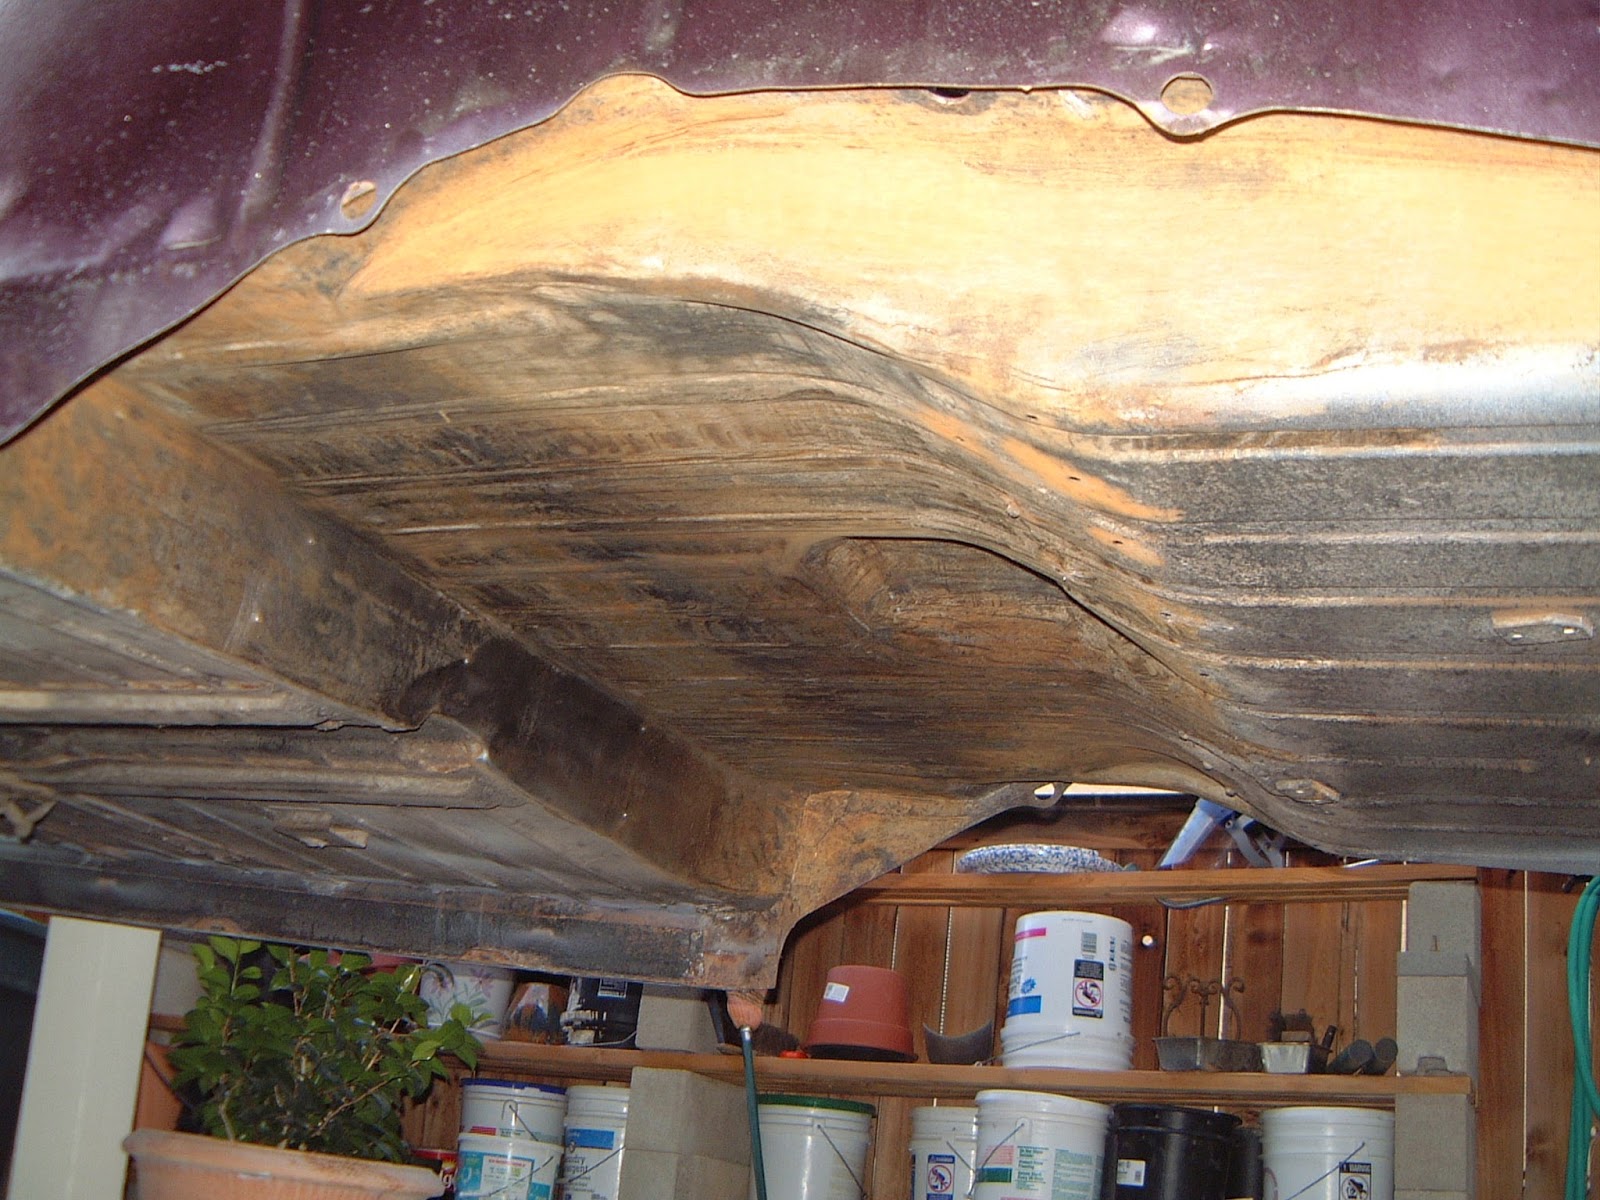
While frame was out for sandblast I cleaned all of the old undercoat from the body
I used this Roto-Strip tool on my drill to remove the old undercoat, it worked excellent and made short work of the job.
I applied a coat of Por-15 for a hard glassy smooth protective base coat.
The entire bottom of the body was rust free...Nice!
Monday, October 27, 2014
Monday, October 6, 2014
Sunday, September 7, 2014
The next step was to disassemble the car down to the bare frame.
With help from my Daughter we removed the front end body parts.
Removing the anti-roll bar assembly to accommodate engine/transmission removal.
Tuesday, August 26, 2014
First Project: Dash Board Sheetmetal
The dash was actually in pretty good shape.
Several holes were drilled under the original radio control head area. The size lead me to believe they were probably for toggle switches. I believe this car did not originally come with a radio because there was no evidence of antenna mounting holes on the cowl and a radio delete cover bearing the Plymouth logo was in the pile of parts that came with the car. You can see in the photo above a light spot on the dash where the delete cover was covering the radio control holes and the two mounting holes for it on each side of where the frequency indicator would have been.
After sand blasting the dash I welded up all of the unwanted holes and ground them smooth. It took very little hammer and dolly work to get everything back to it's original shape. The three large holes I left untouched in the photo above are for the windshield regulator (top center), the cigarette lighter and ashtray (bottom left and right) which I would later use for air conditioning vents.
Several holes were drilled under the original radio control head area. The size lead me to believe they were probably for toggle switches. I believe this car did not originally come with a radio because there was no evidence of antenna mounting holes on the cowl and a radio delete cover bearing the Plymouth logo was in the pile of parts that came with the car. You can see in the photo above a light spot on the dash where the delete cover was covering the radio control holes and the two mounting holes for it on each side of where the frequency indicator would have been.
After sand blasting the dash I welded up all of the unwanted holes and ground them smooth. It took very little hammer and dolly work to get everything back to it's original shape. The three large holes I left untouched in the photo above are for the windshield regulator (top center), the cigarette lighter and ashtray (bottom left and right) which I would later use for air conditioning vents.
Wednesday, August 20, 2014
Title Transfer and Registration
Before I invested any time or money in the car I wanted to
assure the car was legally recognized as my property. I did not want to invest
then later find out there was a problem with title transfer so the day after I
brought the car home I took the paperwork to my local Department of Motor
Vehicles (DNV). Sure enough there was a problem; the car had not been registered
for so long that it had fallen out of the State database. This meant I would need
to have the Vehicle Identification Number (VIN) verified by the Highway Patrol before
the title I had in my possession could be considered valid and the car could once
again be registered in the State database. I found out there was only one Officer in my area
that did VIN verifications. He was located in a neighboring town so I made an
appointment with the Officer and arranged to take that day off from work. I
loaded the car back on the trailer and transported it to the Highway Patrol
office where the inspection facility was located. After I arrived I was
instructed to park behind a gated area and leave my truck, trailer and Plymouth
and come back in two and a half hours. When I returned the Officer told me the
numbers checked out ok and gave me a signed inspection form. The following day
I returned to the DMV and successfully transferred and registered the Plymouth
in my name.
Subscribe to:
Posts (Atom)